After wasting a lot of time with character variables and mysql configurations, I fixed the problem with a simple solution that is base64_encode. Passing the input string through base64_encode and later using base64_decode to show them worked in this case. However the strings take up more space than earlier but this solution is really simple and worthy. I just posted this question to know if someone ever faced something similar but people really do not get the main point of the question. That is where the people on SO get really exhausting. Anyways thanks for your help people! 🙂
The most commonly used storage engine in MySQL are MyISAM and InnoDB.
With these storage engine there are some advantages and disadvantages according to application needs.
As you all know, the default storage engine chosen by MySQL database is MyISAM.
The main difference between MyISAM and INNODB are :
MyISAM does not support transactions by tables while InnoDB supports.
There are no possibility of row-level locking, relational integrity in MyISAM but with InnoDB this is possible. MyISAM has table-level locking.
InnoDB does not support FULLTEXT index while MyISAM supports.
Performance speed of MyISAM table is much higher as compared with tables in InnoDB.
InnoDB is better option while you are dealing with larger database because it supports transactions, volume while MyISAM is suitable for small project.
As InnoDB supports row-level locking which means inserting and updating is much faster as compared with MyISAM.
InnoDB supports ACID (Atomicity, Consistency, Isolation and Durability) property while MyISAM does not support.
In InnoDB table,AUTO_INCREMENT field is a part of index.
Once table in InnoDB is deleted then it can not re-establish.
InnoDB does not save data as table level so while implementation of select count(*) from table will again scan the whole table to calculate the number of rows while MyISAM save data as table level so you can easily read out the saved row number.
MyISAM does not support FOREIGN-KEY referential-integrity constraints while InnoDB supports.
Expression #1 of SELECT list is not in GROUP BY clause and contains nonaggregated column 'db.table.col' which is not functionally dependent on columns in GROUP BY clause; this is incompatible with sql_mode=only_full_group_by
It’s likely because you have the ONLY_FULL_GROUP_BY function enabled. To fix this, you have to disable it.
Run this command:
mysql > SET GLOBAL sql_mode=(SELECT REPLACE(@@sql_mode,'ONLY_FULL_GROUP_BY',''));
Another way to turn it off is that to find and modify the config file my.cnf. Usually it’s in /etc/my.cnf or /etc/mysql/my.cnf.
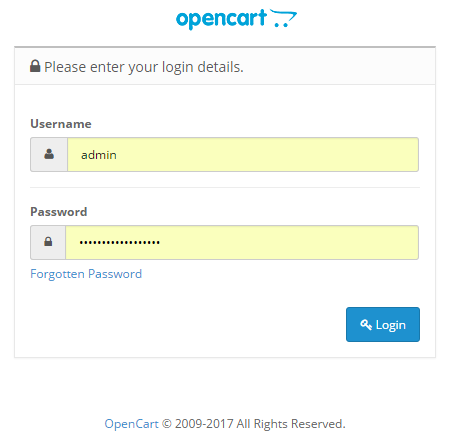
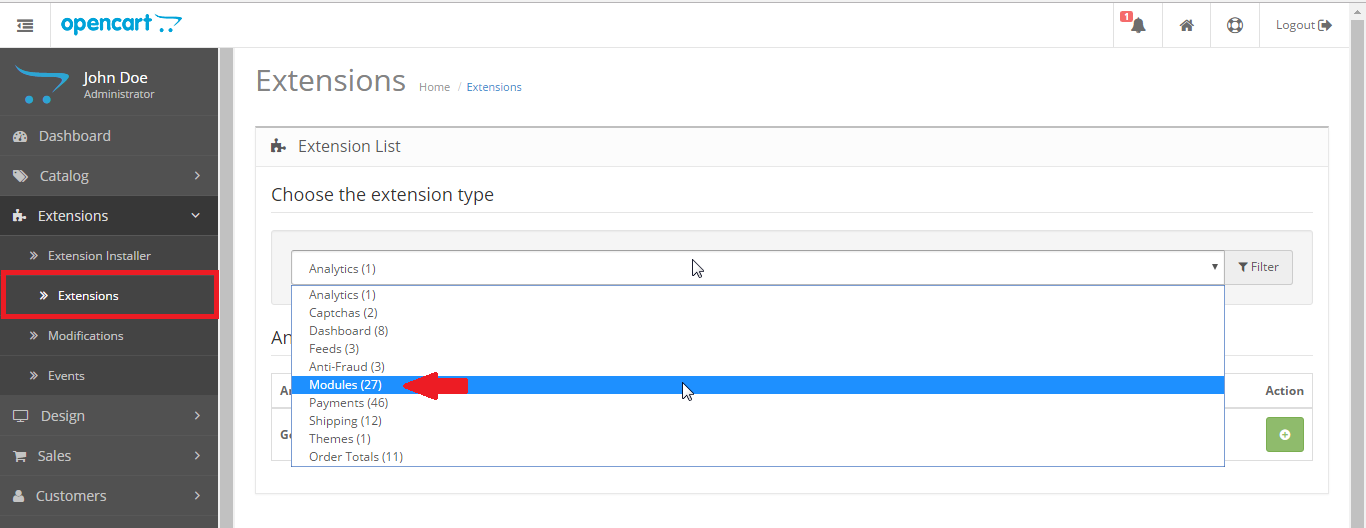
Following are the ways to integrate Opencart with ShipRocket. Before you proceed with these steps, make sure that you have installed the Shiprocket plugin on your Opencart account.
In case that you have Ubuntu in your machine, the following steps will help you:
Check first in your php testing file if you have soap (client / server)or not by using phpinfo(); and check results in the browser. In case that you have it, it will seems like the following image ( If not go to step 2 ):
Open your terminal and paste: sudo apt-get install php-soap.
Restart your apache2 server in terminal : sudo service apache2 restart.
To check use your php test file again to be seems like mine in step 1.
cPanel (both shared and on servers) lets you host a website and email for your domain names. To establish the connection between the domain name and your cPanel account, you need to change the domain name’s DNS (What is DNS?).
For shared hosting customers with domains in the same account as their hosting, we configure these for you automatically.
For everyone else, you will need to configure this DNS wherever your domain name is registered. If it’s through us, you can use our DNS manager (more info). DNS changes can take up to 48 hours to take effect across the Internet.
Note: Need DNS help from a GoDaddy Guide? On our Contact Us page, click Chat Now for guidance 24/7.
mail.[your domain name], for example mail.coolexample.com
NOTE: Use MX Priority 0
Warning: You must delete any other MX (Mail Exchanger) entries in the DNS zone file for your email to work. The MX entry listed above should be the only MX entry.
If you have your cPanel site set up on a subdomain (e.g. cpanel.coolexample.com), replace each instance of “@” with your subdomain and use the domain name including the subdomain in the MX record.
Optional Records
You do not need to add all of these records to your zone file, but doing so will make certain functions work, such as Autodiscovery through Outlook.
NOTE: This record applies only to cPanel shared hosting accounts.
TXT
admin
v=spf1 a mx ptr include:secureserver.net -all
NOTE: This record applies only to cPanel shared hosting accounts.
Note: Only use the TXT records listed above if your domain is using cPanel email. If you have these TXT records, and you use another email provider with your domain, you may have problems sending email.
An SPF (Sender Policy Framework) record is a type of TXT record in your DNS zone file. SPF records help identify which mail servers are permitted to send email on behalf of your domain. Adding an SPF record can help detect and prevent spammers from sending email messages with forged From addresses on your domain.
Select your domain to access the Domain Settings page.
Under Additional Settings, select Manage DNS.
Select Add under the records table.
Under Type, select TXT.
Enter the details for your SPF record:
Host: The domain or subdomain for the SPF record. To put the record on your root domain, enter @ in the Host field.
TXT Value: The SPF rule to be applied. For example, enter v=spf1 mx -all to indicate emails are allowed from your mail server and no others. Check out more info about SPF record syntax.
TTL: How long the server should cache information. The default setting is 1 hour.
Select Save to save your new SPF record.
Please allow up to 48 hours for your changes to take full effect globally.