March 17, 2018 in News
SBI minimum balance for savings account rule changed: Know about new charges from April 1
SBI minimum balance for savings account rule changed: Know about new charges from April 1
The State Bank of India, on Tuesday morning, cut charges for non-maintenance of average minimum balance. The new charges will be applicable from April 1, 2018. India’s largest bank has specified different monthly average balances (MAB) for accounts and if the holder fails to maintain this balance, he is charged depending on the degree of shortfall. The decision was taken by the bank in view of the feedback from various stakeholders.
According to the last notification by the bank, the SBI customers holding savings bank accounts with the bank’s metro and urban branches were required to maintain a monthly balance of Rs 3000 from October 1. The customers in semi-urban SBI branches were required to maintain Rs 2000 monthly balance and the rural branch customers had to maintain Rs 1000 balance.
Now, the AMB for customers in Metro and Urban centres have been reduced from a maximum of Rs. 50/- p.m plus GST to Rs. 15/- p.m. plus GST. Similarly, for Semi-Urban and Rural centres the charges have been reduced from Rs. 40/- p.m plus GST to Rs. 12/- and Rs. 10/- p.m. plus GST respectively.
Here are the new rates by SBI:

“We have reduced these charges taking into account the feedbacks and sentiments of our customers. Bank has always focused on keeping the interests of its customers first and this is one of our many efforts towards fulfilling customer expectations. Bank also offers its customers to shift from regular savings bank account to BSBD account on which no charges are levied,” PK Gupta, MD – Retail & Digital Banking, SBI said, about the reduction of charges.
Currently, there are 41 crores Savings Bank accounts in SBI out of which 16 crore accounts under PMJDY / BSBD and of pensioner/minors/social security benefit holders were already exempted. Apart from this, the accounts of students upto 21 years of age are also exempted.
SBI believes that the decision to cut charges for non-maintenance of minimum balance will benefit as many as 25 crore customers.
The bank added that if the customer wants to avail basic savings bank facilities without being subject to maintenance of AMB, they can convert the regular savings bank account to Basic Savings Bank Account (BSBD account), free of charge.
Source by financialexpress…


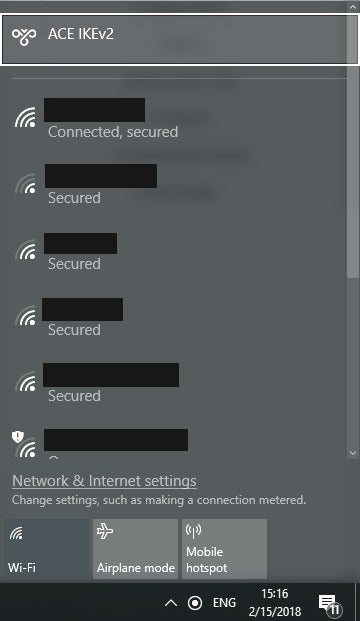
 IDG Windows 10’s Certificate Import Wizard. Now we’ve arrived at the Certificate Import Wizard. Select the Local Machine radio button and click Next. On the next screen make sure to select the radio button labeled Place all certificates in the following store, and click Browse… A smaller window opens with a folder tree. Select Trusted Root Certification Authorities and then click OK. Now we’re back at the Certificate Import Wizard window. From here click Next. The hard part is over. On the next screen click Finish and then OK in the smaller window. Now that the certificate is installed we can set up the IKEv2 VPN using the same step-by-step instructions above. Just make sure that you select IKEv2 under “VPN type,” and then use the server name, address, and username and password provided by your service provider. Once you’ve connected to the VPN, check to see that your VPN is working by visiting
  Step 7 If you can’t connect, the problem could be due to the server configuration. (There are different types of VPNs.) Check with your network administrator to see what kind is in use—such as PPTP—then, on the “Connect VPN Connection” screen, select Properties. Step 8 Navigate to the Security tab and select the specific “Type of VPN” from the drop-down list. You may also have to unselect Include Windows logon domain under the Options tab. Then click OK and Connect. It takes a little work, but setting up a VPN using the Windows built-in client is relatively quick, and as a user it’s a helpful skill to have. This story, “How to set up a VPN in Windows” was originally published by